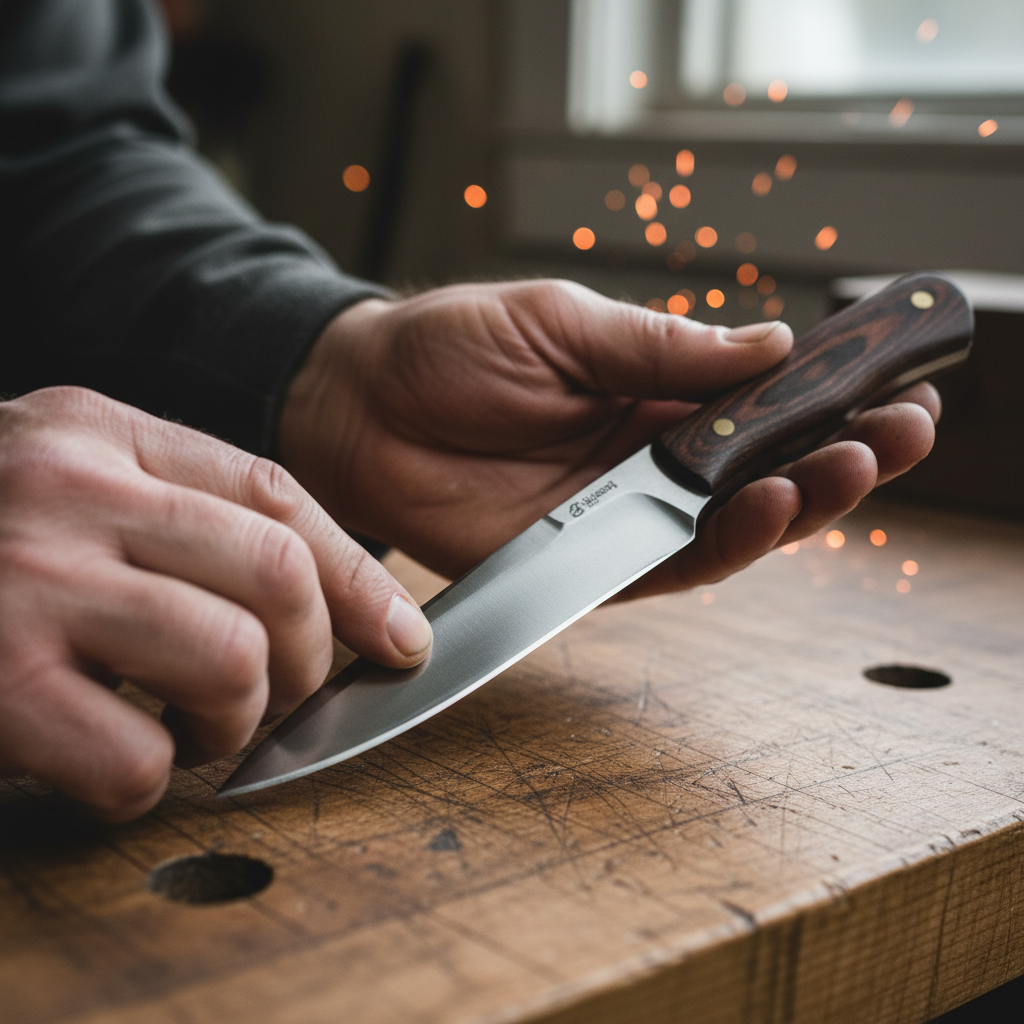
Instructor
Marcus Holt
Bladesmith · 22 years
From Steel Bar to Signed Blade.
Your Hands.
Your Forge.
Your First Knife.
A seven-week course taught from a working garage shop. No fancy equipment. No forge school required. Just 1084 high-carbon steel, a belt grinder, and the patience to do it right.
847
knives made
4.9★
student rating
12 wks
to first blade
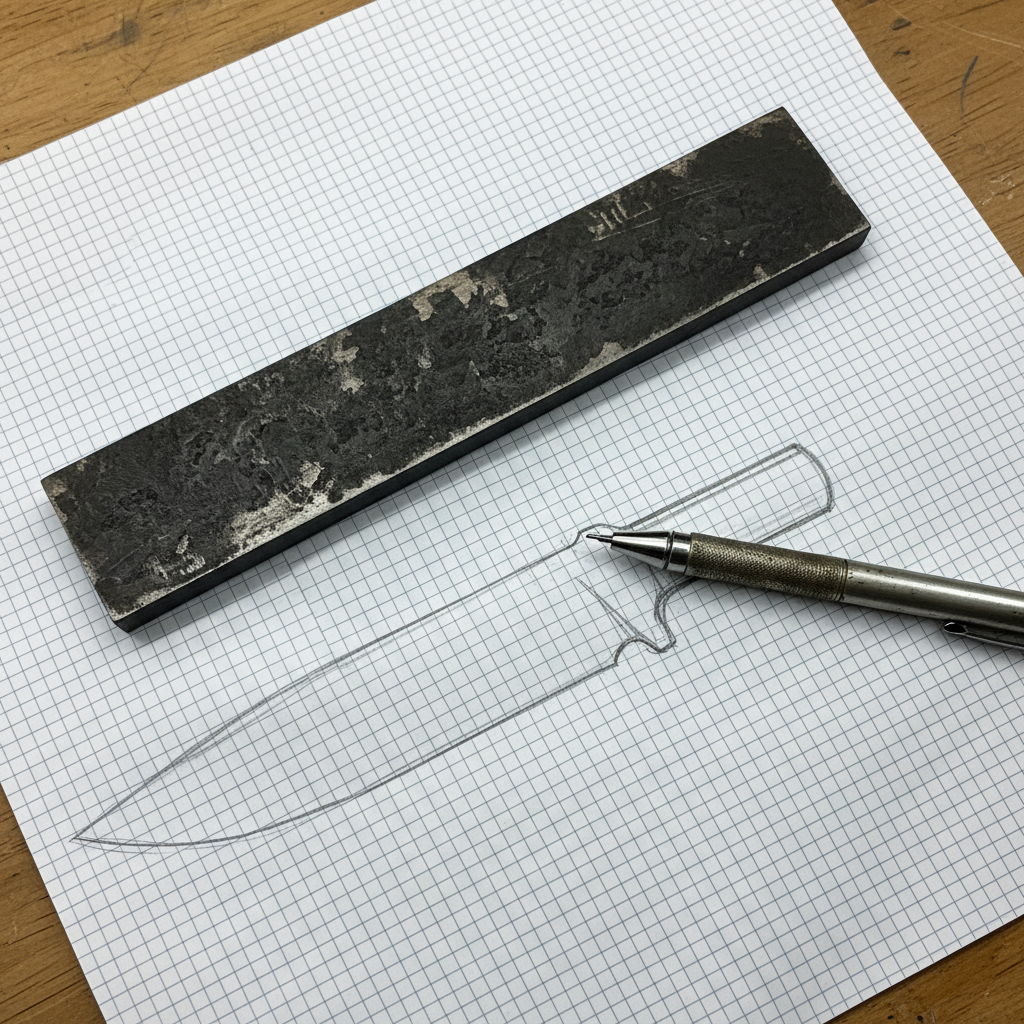
Steel Bar and a Pencil Sketch
Everything starts with a 12-inch bar of 1084 high-carbon and a sheet of quarter-inch graph paper. You draw the profile twice before you cut it once — the second sketch is always better. This is where the knife lives before the grinder ever touches it.
"The pencil on graph paper sounds exactly like the steel will against the belt. You're already grinding."
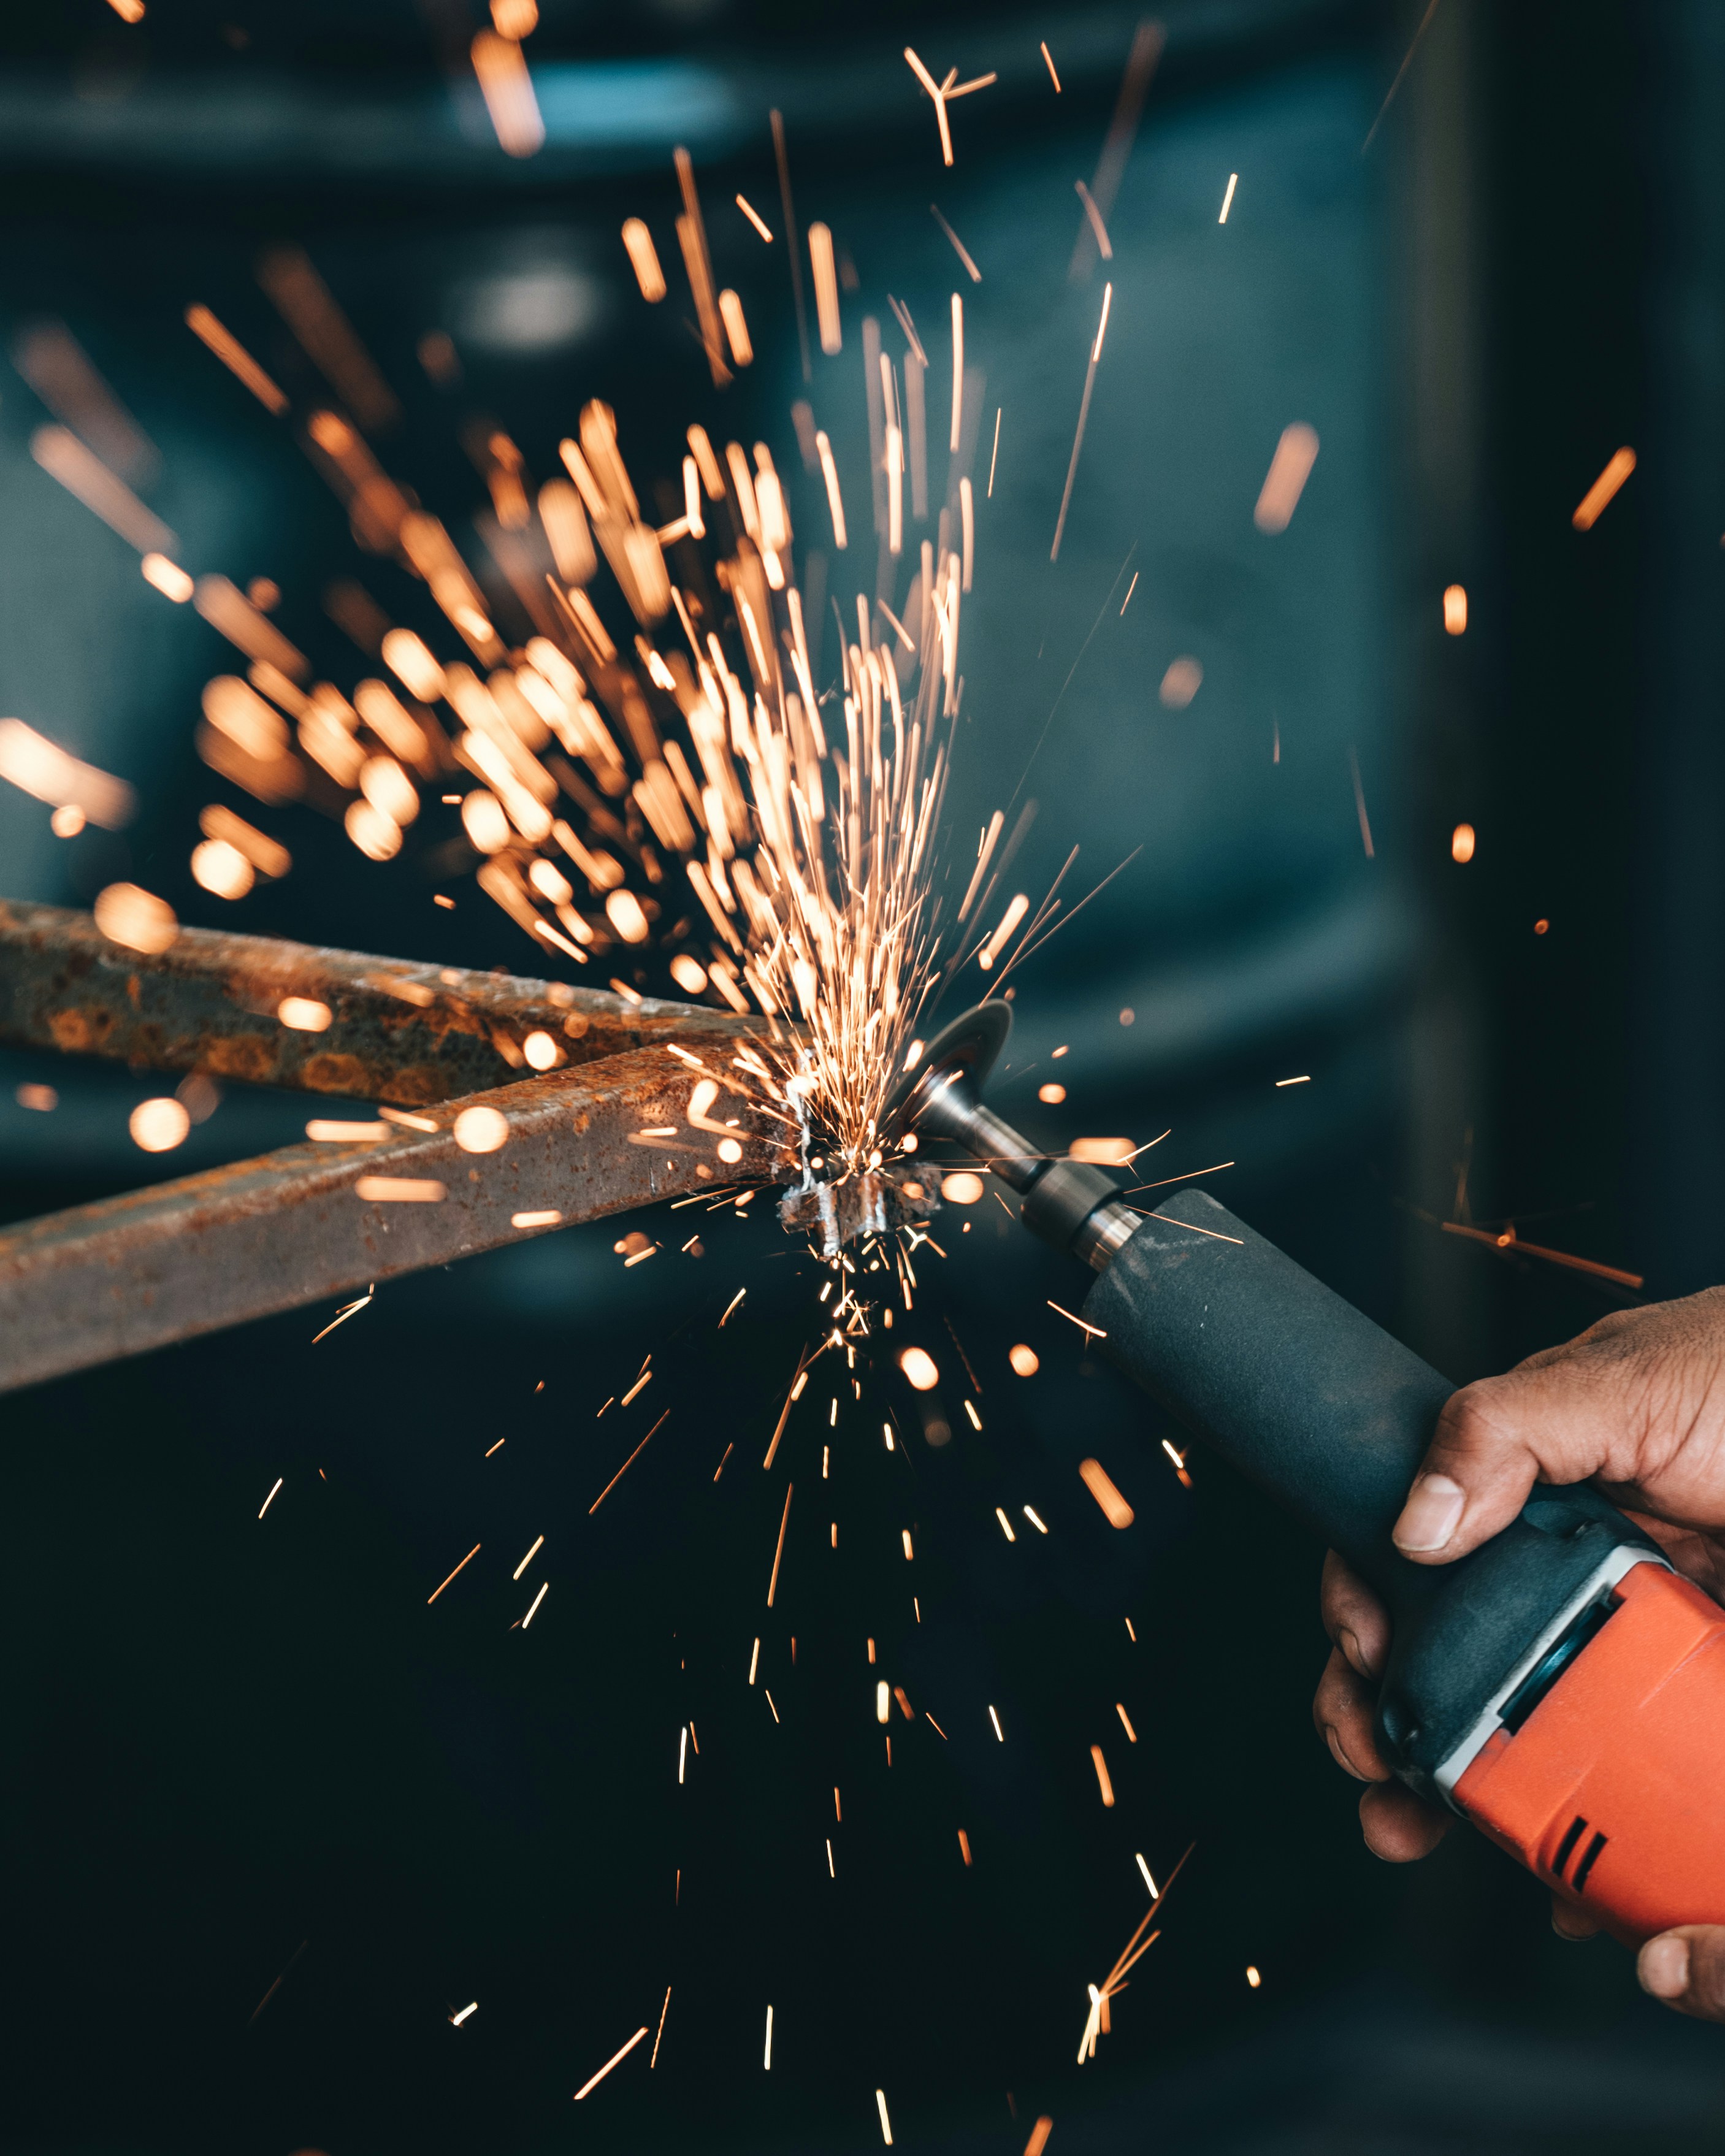
Profile Shaping and the First Sparks
The angle grinder bites into the bar and the profile emerges from the metal like something that was always there. You learn the grinder's voice — the pitch that means you're moving too fast, the shower of sparks that means the steel is warm and working.
"The sparks land on your forearm and you don't flinch anymore. That's when you know you belong here."
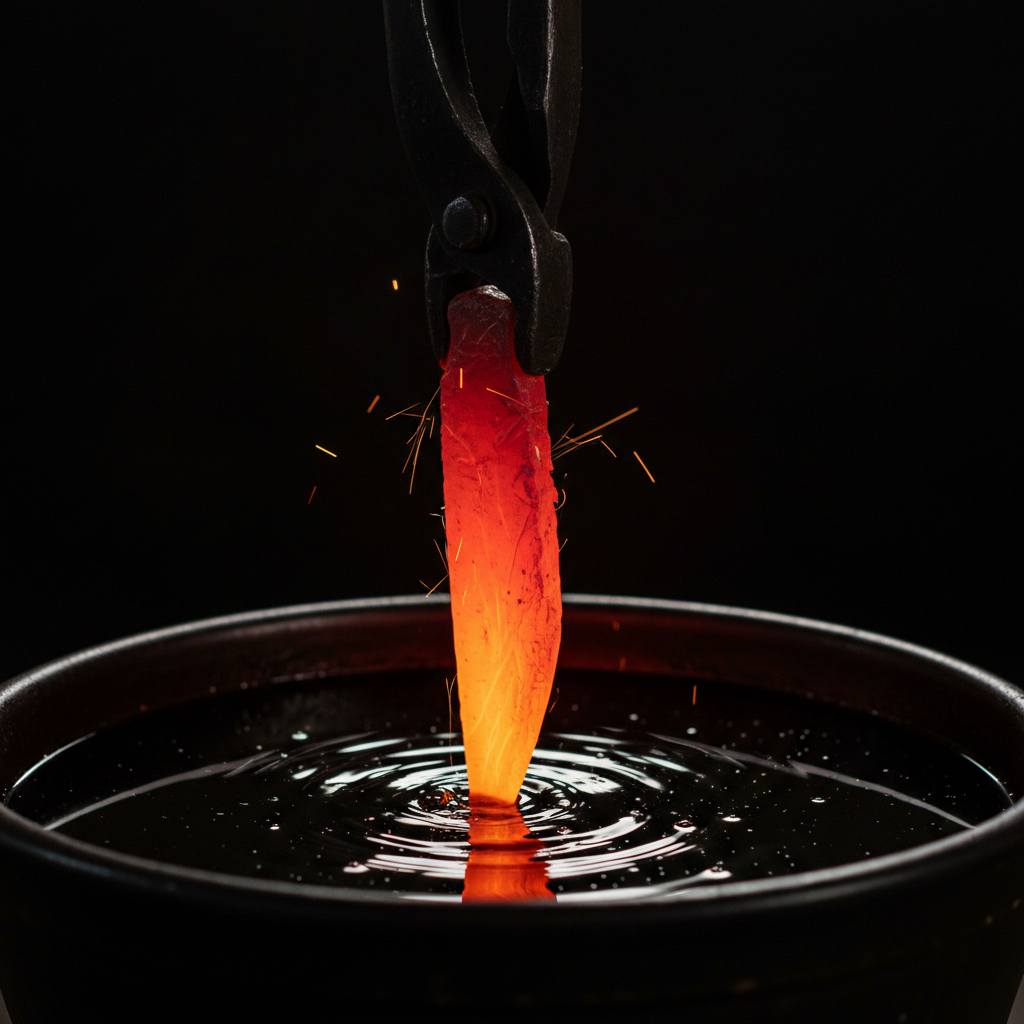
Cherry Red Against Darkness
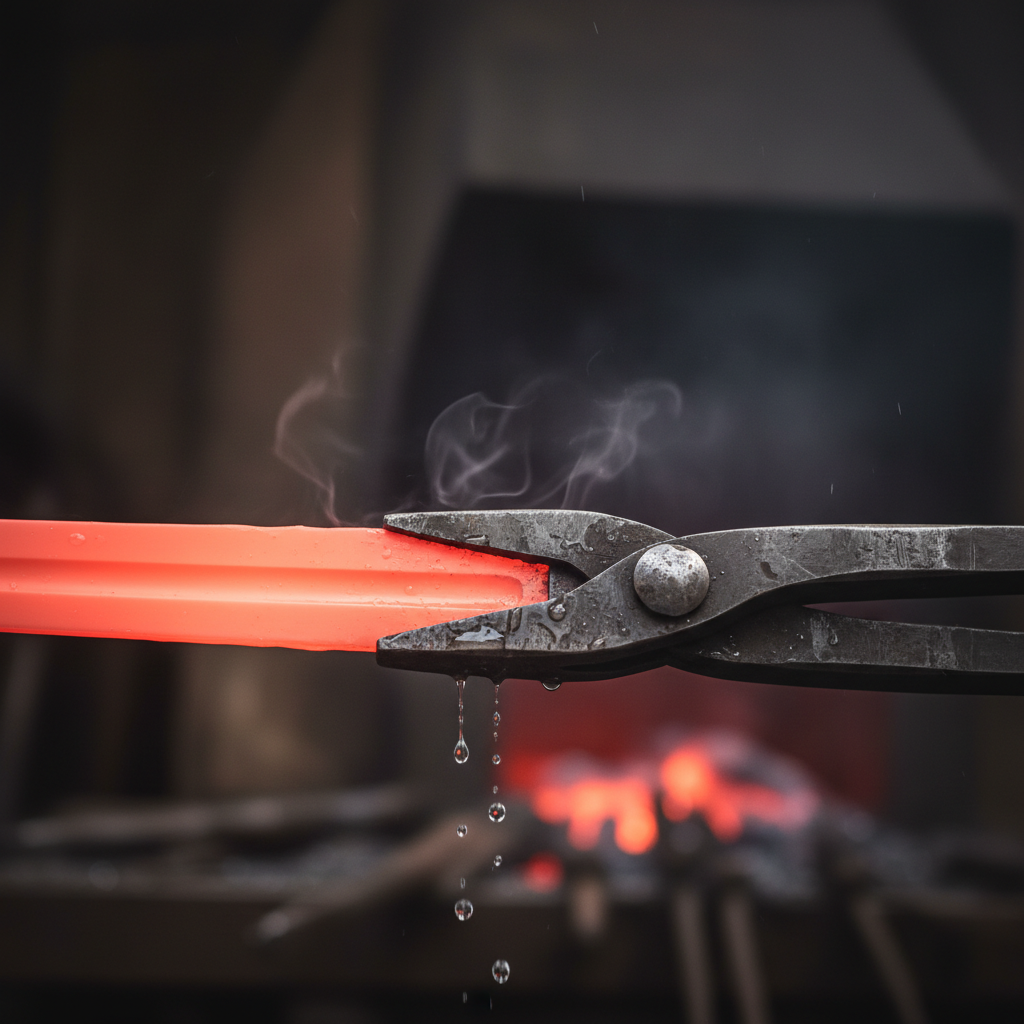
The forge hits 1475°F and the steel goes from black to brown to a deep cherry red. You pull it in the dark so you can read the color true — a flashlight kills your eyes for the color. Into the canola quench, a hiss, and the steel hardens in two seconds.
"The smell of hot steel hitting oil is the smell of something becoming what it was supposed to be."
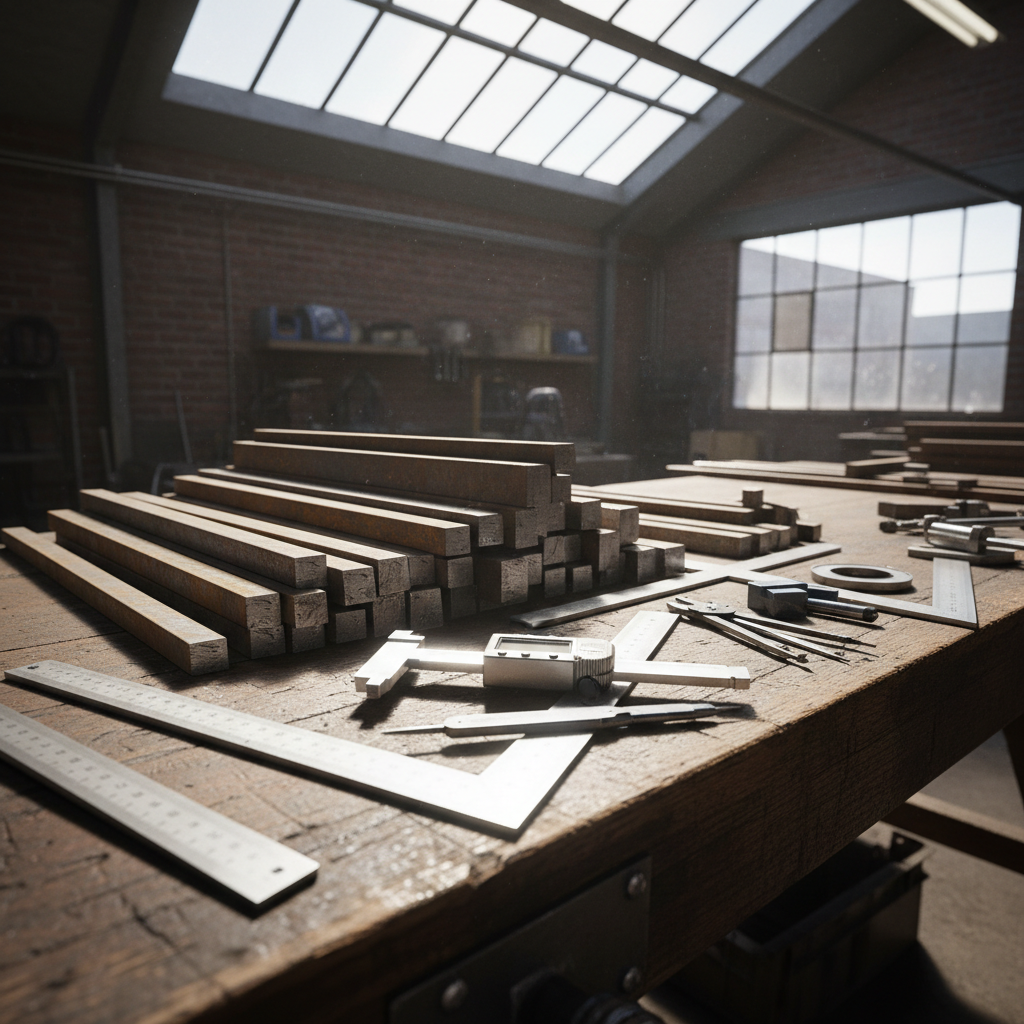
The Steel
Selection Guide.
Twelve pages. No filler. The exact steel selection framework Marcus uses when a new student walks in asking "what do I start with?" — written down for the first time.
- 1084 vs 1075 vs O1 — when to use each
- Where to source bar stock under $25
- Thickness and width for a first drop-point
- Reading steel grain after the grind
- The one steel beginner mistake that ruins heat treat
Get the Guide Free
Email only. No drip campaign. Just the PDF.
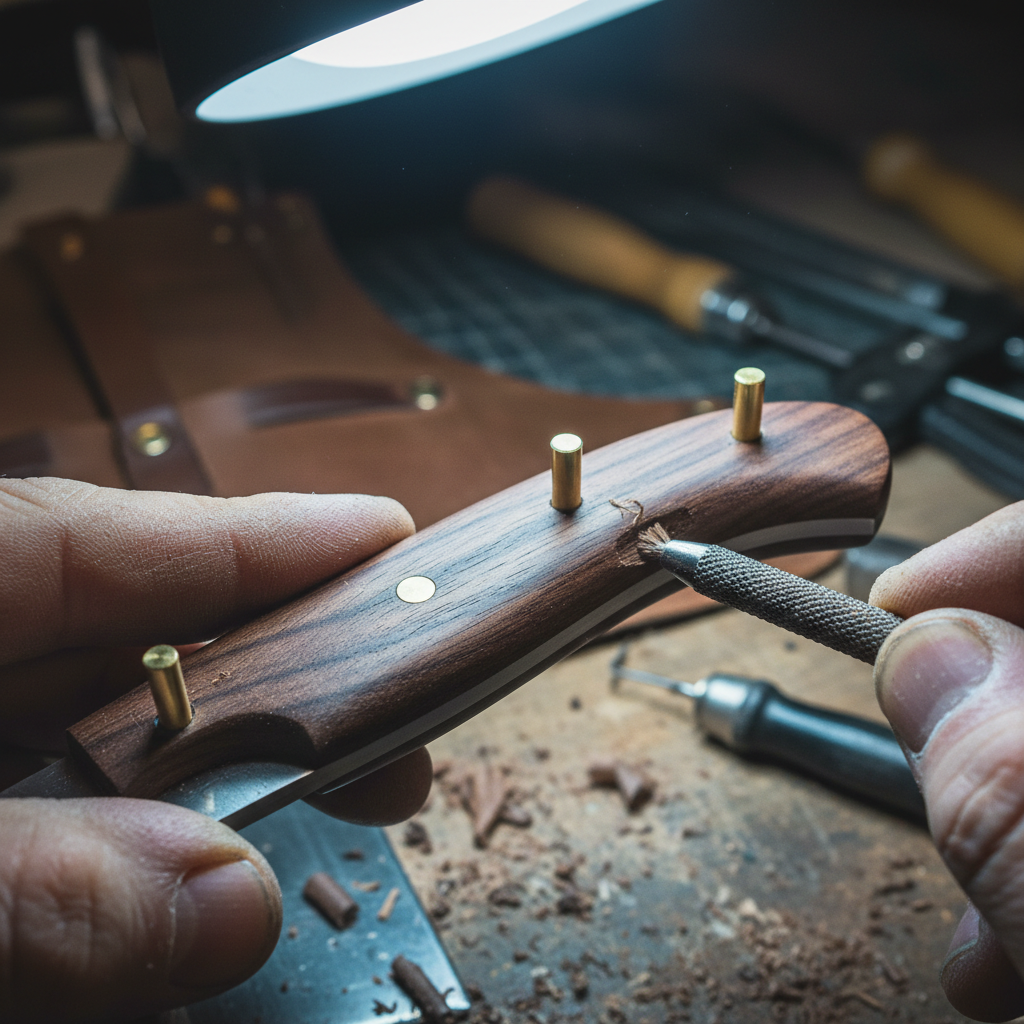
Brass Pins and Stabilized Burl
The tang gets drilled for two 1/4-inch brass pins and the handle slabs are cut from a piece of stabilized claro walnut burl — the kind with the figure that makes you want to keep turning it in the light. Epoxy, pins, a bench vise, overnight cure.
"The burl grain moves differently from every angle. You spend ten minutes just looking before you pick up the file."
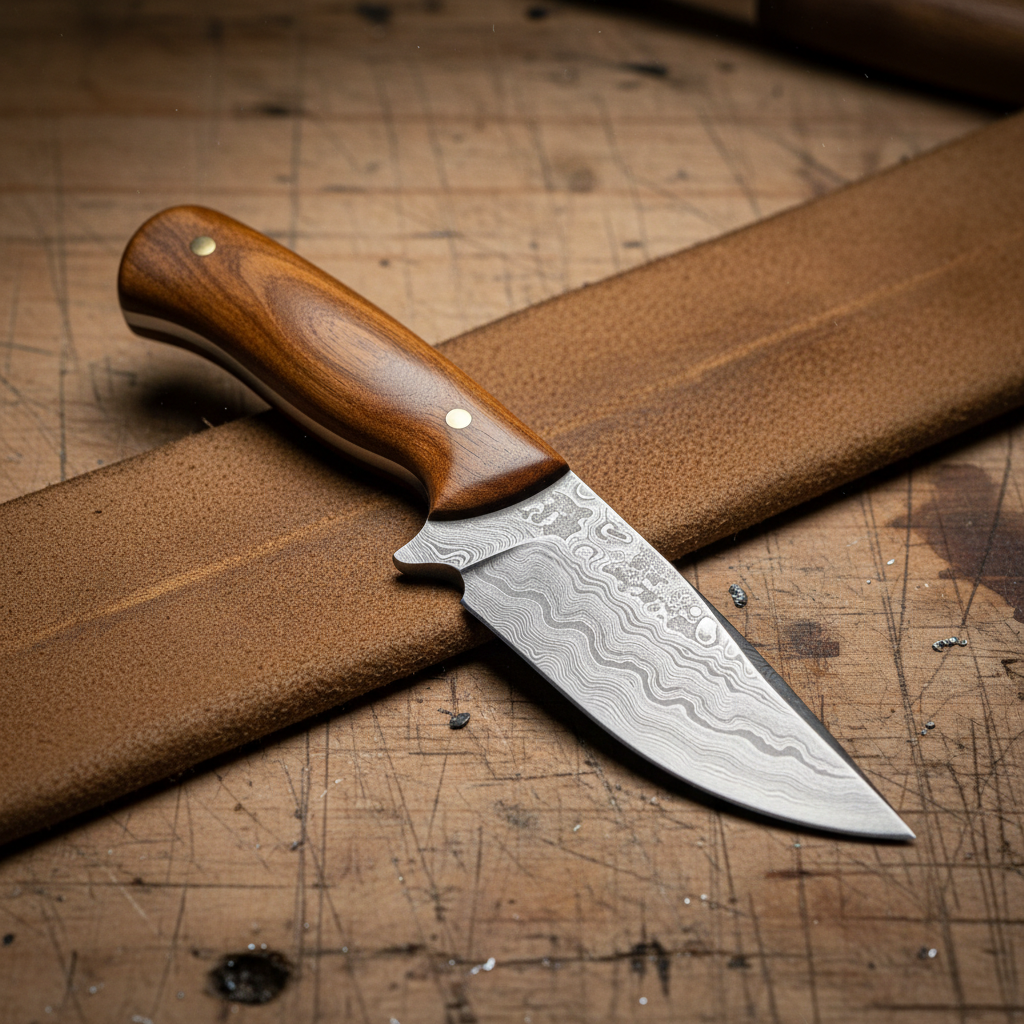
The Finished Knife on Leather
The blade rests on a leather strop, satin finish under tungsten light, engraved maker's mark stamped into the ricasso. You pick it up and the balance is yours — you built it to fit your hand. The sheath is hand-stitched saddle leather, waxed.
"You set it down on the workbench and step back. The bench has held a thousand tools. This one you made."
Watch the
Quench Lesson.
Heat treat is where beginners panic and blades warp. This lesson shows exactly what Marcus does — blade in the forge, color by eye, into the quench tank — no theatrics, no shortcuts.
- Reading color temperature by eye — no pyrometer needed
- The canola oil quench: why not water, why not Parks 50
- Testing hardness with a file before touching the grinder
- 18 minutes · No upsell at the end
They made the knife.
You'll make yours.
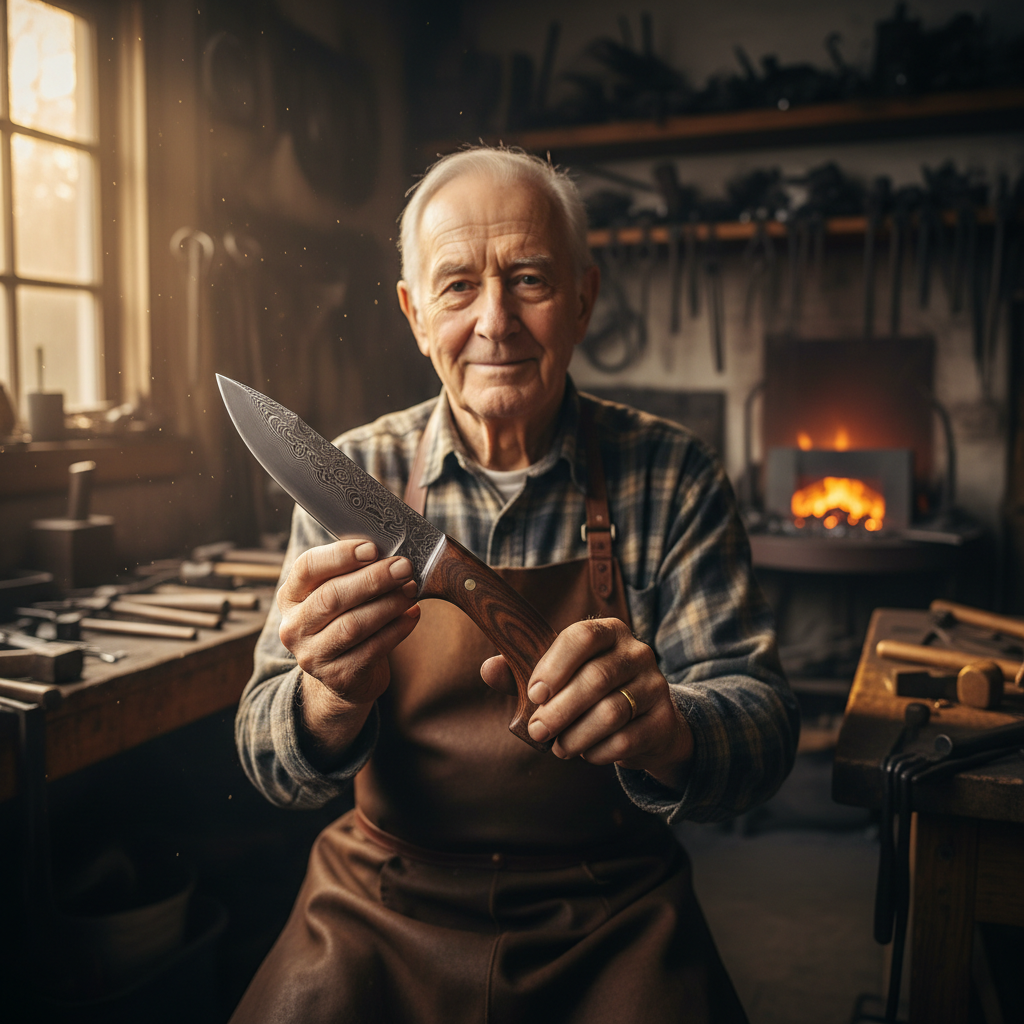
"I built three birdhouses and got bored. This gave me back that feeling of making something that actually matters. My grandson carries the knife I made him."
Dale Hutchins
Portland, OR · Retired electrician, 34 years in the trade
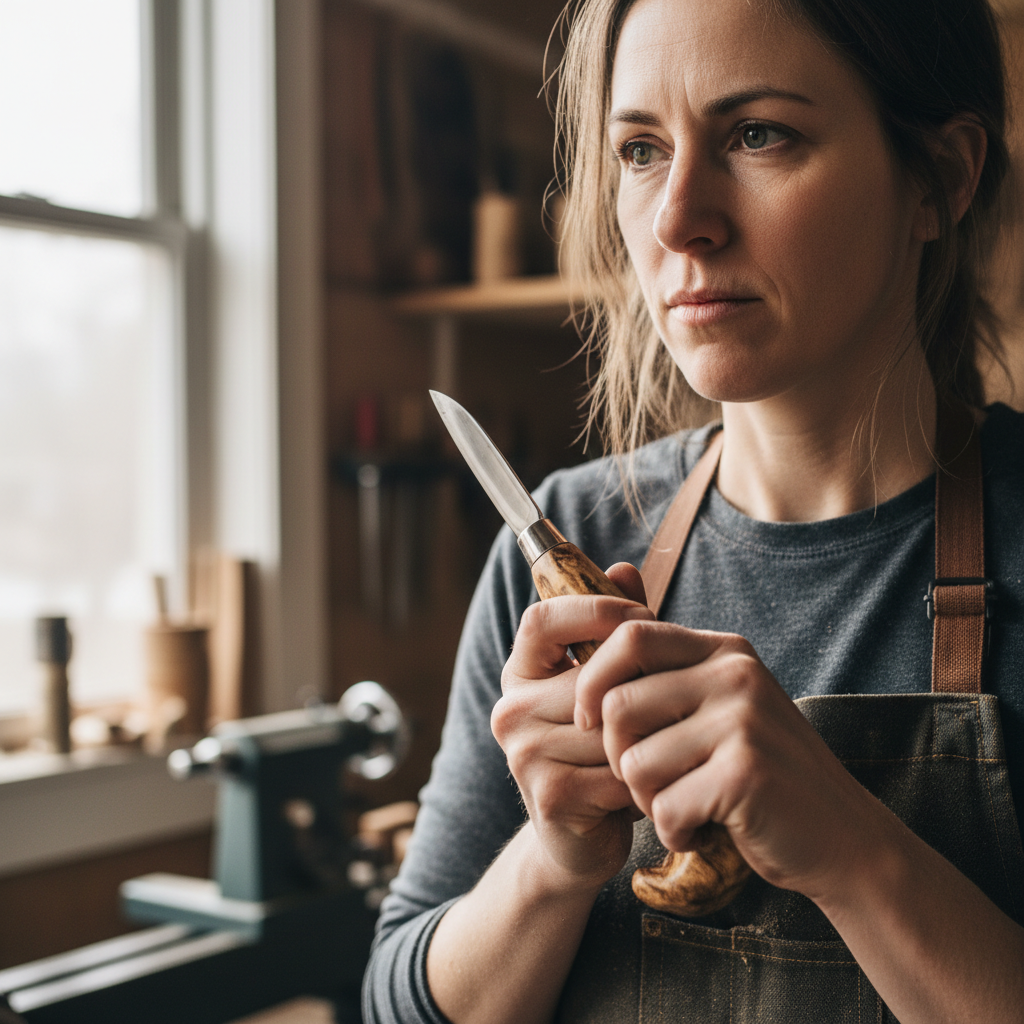
"I came in knowing wood grain. Marcus taught me steel grain. The overlap surprised me — now I'm making handles I couldn't have imagined six months ago."
Renata Kowalski
Minneapolis, MN · Woodturner, hobbyist
"I wanted to give my dad something for his 70th birthday that wasn't bought. The look on his face when I handed him the sheath — that's what I paid for."

James Okafor
Atlanta, GA · Software engineer, weekend maker
847 knives made by Forge students since 2021